앞선 포스팅에서 react-window 설치 방법과 간단한 List 구현에 대해 작성해 보았으니, 처음 이 글을 보는 경우, 앞선 포스팅을 참고 바란다.
👉🏻 3) AutoSizer 활용
기본적으로 List에 width와 height를 고정적으로 줘야하며, %로는 줄 수 없다.
하지만 반응형으로 구현되어야 하거나 정확한 px 사이즈를 줄 수 없는 경우가 있기에, 상위의 width나 height에 %의 값을 줘서 내부 List 쪽에 적용되도록 해야 하는데 이와 관련하여 AutoSizer를 활용해 볼 수 있다.
사용법은 다음과 같다.
import { FixedSizeList as List } from "react-window";
import AutoSizer from "react-virtualized-auto-sizer";
import styled from "styled-components";

function App() {
  // 임시 dummyList 생성
  const dummyList = new Array(100).fill(0).map((_, idx) => ({
    id: idx,
    name: `List ${idx}`,
  }));

  return (
    <Container>
      <AutoSizer>
        {({ width, height }) => (
          //container에 지정된 width와 height 을 전달해 줌
          <List
            height={height}
            itemCount={dummyList.length}
            itemSize={35}
            width={width}
          >
            {({ index, style }) => (
              <div style={style}> {dummyList[index].name}</div>
            )}
          </List>
        )}
      </AutoSizer>
    </Container>
  );
}

export default App;

const Container = styled.div`
  width: 350px;
  height: 90vh;
  background: #ddd;
  display: flex;
  flex-direction: column;
  gap: 10px;
  > div {
    background: #fff;
  }
`;
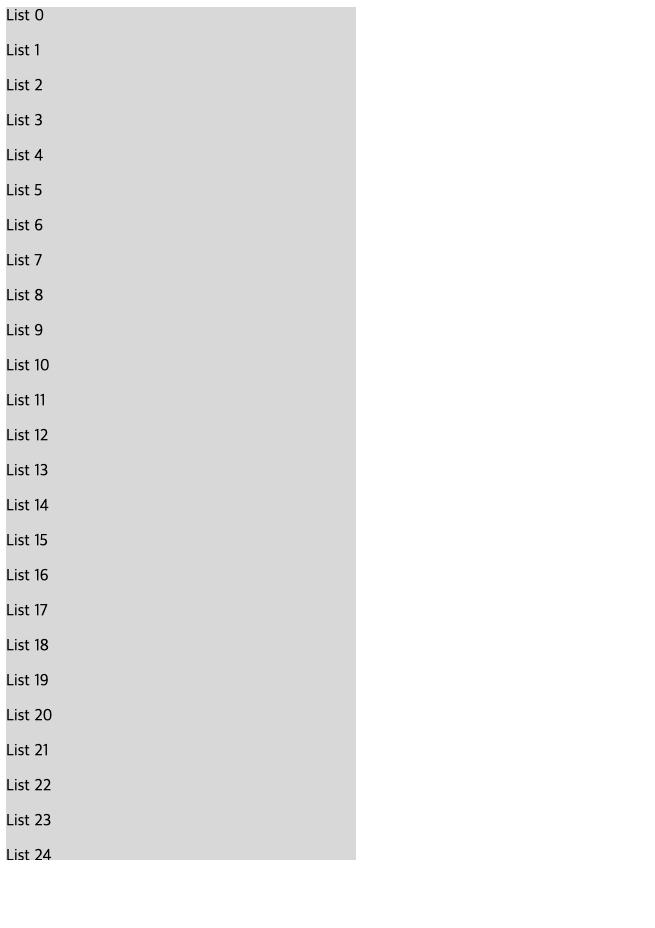
위에 작성된 것처럼 AutoSizer로 감싼 후, 내부의 width와 height을 List 컴포넌트에 입혀주면, 부모 Container에 설정된 width:350px, height:90vh 가 내부로 전달될 수 있다.
이미지로 보면 다음과 같이 Container의 너비,높이만큼 적용된 것을 볼 수 있다.
👉🏻 4) InfiniteLoader 사용하기
여기까지 왔다면, 이제 무한스크롤 구현할 준비가 다 되어있다고 볼 수 있다.
기본적으로 무한스크롤은 바닥에 닿았을 때 callback 함수를 통하여 그다음 페이지가 있다면, 다음 페이지의 data를 받아서 쌓아둔다.
이처럼 InfiniteLoader에도 화면에 item이 다 나왔을 때, 그 다음 item을 받아오는 callback 함수를 실행할 건지에 대한 boolean 함수와 callback함수를 받는 props와 총아이템의 개수를 받는 props 3개를 기본적으로 받고 있다.
기본적으로 다음과 같은 형태이다.
  const loadMoreItems = () => {
    console.log(
      '계속 보여줄 item이 있다면 true, item이 없어서 새로 더 받아야 한다면 false로 loadMoreItems를 실행함'
    );
    return true;
  };

  const isItemLoaded = () => {
    console.log(
      '계속 보여줄 item이 있다면 true, item이 없어서 새로 더 받아야 한다면 false로 loadMoreItems를 실행함'
    );
    return true;
  };

  return(
     <Container>
        <AutoSizer>
          {({ width, height }) => (
            {/* container에 지정된 width와 height 을 전달해 줌 */}
            <InfiniteLoader
              itemCount={20}
              loadMoreItems={loadMoreItems}
              isItemLoaded={isItemLoaded}
            >
              {({ onItemsRendered, ref }) => (
                <List
                  height={height}
                  itemCount={dummyList.length} {/* page:1 size:20 일 때 그 size 입니다. (총 count 아님) */}
                  itemSize={44}
                  width={width}
                  onItemsRendered={onItemsRendered}
                  ref={ref}
                >
                  {({ index, style }) => (
                    <div style={style}> {dummyList[index].name}</div>
                  )}
                </List>
              )}
            </InfiniteLoader>
          )}
        </AutoSizer>
      </Container>
    )
InfiniteLoder 에 대하여 간략하게 설명하자면, 앞서 말한 것과 같이 isItemLoaded와 itemCount와 loadMoreItems 만 신경 쓰면 된다.
itemCount 에는 페이지 당 요청하는 item의 size를 넣어주면 된다.
isItemLoader 는 현재 들어간 item들이 움직일 때마다 실행이 되는데, false가 return 될 경우 loadMoreItems를 실행시킨다.
페이지네이션 방식으로 적용하려면 다음과 같이 생각하면 된다.
- isItemLoader 안에 특정 조건을 걸어 false 를 반환하여 loadMoreItems를 실행
- isItemLoader 안에 특정 조건이 아닐때는 true로 반환하여 loadMoreItems 릉 방지
loadMoreItems는 우리가 바닥에 닿았을 때, 다음 페이지를 요청하여 다음 페이지의 데이터를 현재 데이터에 추가하는 것과 동일한 방식의 함수를 작성해 주면 된다.
정리해 보면 아래와 같이 작성될 수 있다.
import { FixedSizeList as List } from "react-window";
import AutoSizer from "react-virtualized-auto-sizer";
import styled from "styled-components";
import InfiniteLoader from "react-window-infinite-loader";
import { useMemo } from "react";
function App() {
// 임시 dummyList 생성
const dummyList = new Array(40).fill(0).map((_, idx) => ({
id: idx,
name: `List ${idx}`,
}));
const totalPages = 16; // 임시
const currentPage = 10; // 임시
const size = 40; // 임시
const itemCount = useMemo(() => {
// 마지막페이지의 경우 41개, 아닌 경우 40개 반환
if (totalPages - 1 > currentPage) {
return size + 1;
}
return size;
}, [size, totalPages, currentPage]);
const isItemLoaded = (index: number) => {
// false 로 반환될 조건 = 마지막 페이지가 아닌경우 || 현재의 index가 데이터의 마지막 index일 경우
// false 인 경우 infiniteCallback 함수 실행
return !(totalPages - 1 > currentPage) || index < size;
};
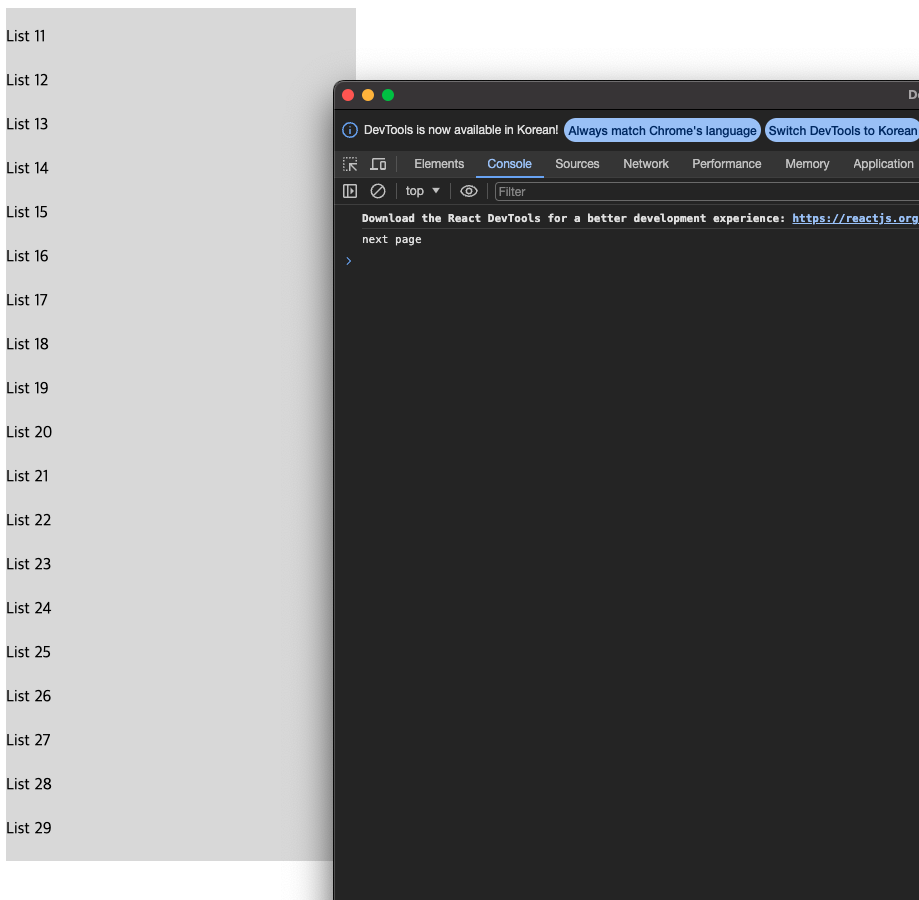
const infiniteCallback = () => {
console.log("next page");
/*
다음 페이지를 가져와 해당 데이터를 기존 데이터에 더하는 내용의 함수 작성
*/
};
return (
<Container>
<AutoSizer>
{({ width, height }) => (
//container에 지정된 width와 height 을 전달해 줌
<InfiniteLoader
isItemLoaded={isItemLoaded}
itemCount={itemCount}
loadMoreItems={infiniteCallback}
>
{({ onItemsRendered, ref }) => (
<List
height={height}
itemCount={dummyList.length}
itemSize={44}
width={width}
onItemsRendered={onItemsRendered}
ref={ref}
>
{({ index, style }) => (
<div style={style}> {dummyList[index].name}</div>
)}
</List>
)}
</InfiniteLoader>
)}
</AutoSizer>
</Container>
);
}
export default App;
const Container = styled.div`
width: 350px;
height: 90vh;
background: #ddd;
display: flex;
flex-direction: column;
gap: 10px;
> div {
background: #fff;
}
`;콘솔로 찍어보니 .. 로드되는 index 가 전체 size의 60% 정도를 넘어서면 infinitecallback함수를 실행시키는 것 같다.
👉🏻 5) 재사용성있는 컴포넌트로 분리하기
실무에서 사용하다 보면, 여러 번 재사용되는 경우가 많을 것이다.
이번에는 해당 컴포넌트에서 여러번 반복되는 요소들을 InfiniteWrapper로 분리하여 정리해 줄 것이다.
정리해 보면 다음과 같이 분리할 수 있다.
import { FixedSizeList as List, ListChildComponentProps } from 'react-window';
import AutoSizer from 'react-virtualized-auto-sizer';
import InfiniteLoader from 'react-window-infinite-loader';
import { ComponentType, useMemo } from 'react';

interface IInfiniteWrapperProps {
  totalPages: number;
  currentPage: number;
  itemLength: number;
  listHeight?: number;
  infiniteCallback: () => void;
  children: ComponentType<ListChildComponentProps<any>>;
}

const InfiniteWrapper = ({
  currentPage, //현재페이지
  totalPages, //총페이지
  itemLength, //size
  infiniteCallback, //바닥 닿았을때 callback함수
  children,
  listHeight = 44 //각 리스트의 height
}: IInfiniteWrapperProps) => {
  const itemCount = useMemo(() => {
    // 마지막페이지의 경우 + 1개, 아닌 경우 기존 사이즈반환
    if (totalPages - 1 > currentPage) {
      return itemLength + 1;
    }
    return itemLength;
  }, [itemLength, totalPages, currentPage]);

  const isItemLoaded = (index: number) => {
    // false 로 반환될 조건 = 마지막 페이지가 아닌경우 || 현재의 index가 데이터의 마지막 index일 경우
    // false 인 경우 infiniteCallback 함수 실행
    return !(totalPages - 1 > currentPage) || index < itemLength;
  };

  return (
    <AutoSizer>
      {({ height, width }) => {
        return (
          <InfiniteLoader
            isItemLoaded={isItemLoaded}
            itemCount={itemCount}
            loadMoreItems={infiniteCallback}
          >
            {({ onItemsRendered, ref }) => (
              <List
                height={height}
                width={width}
                itemSize={listHeight}
                itemCount={itemCount}
                onItemsRendered={onItemsRendered}
                ref={ref}
              >
                {children}
              </List>
            )}
          </InfiniteLoader>
        );
      }}
    </AutoSizer>
  );
};
export default InfiniteWrapper;
가져다 쓸 땐 다음과 같다.
     <InfiniteWrapper
        totalPages={10}
        currentPage={1}
        itemLength={10}
        listHeight={50}
        infiniteCallback={() => {}}
      >
        {({ index, style }) => (
          <div style={style}>
            Row {index}
          </div>
        )}
      </InfiniteWrapper>
끝.
'FE' 카테고리의 다른 글
| [ChartJS / react-chartjs-2] 차트 라이브러리 설치, 기본 세팅하기 #1 (0) | 2024.10.29 |
|---|---|
| [React/Typescript] 트리구조 UI 구현하기 3. - 재귀함수 돌리기 (0) | 2024.10.29 |
| [React/Typescript] 트리구조 UI 구현하기 2. - Toggle animation (0) | 2024.10.29 |
| [React/Typescript] 트리구조 UI 구현하기 1. - 기본 구조 잡기 (4) | 2024.10.29 |
| [react-window] 무한 스크롤 구현하기 1 (0) | 2024.10.29 |